

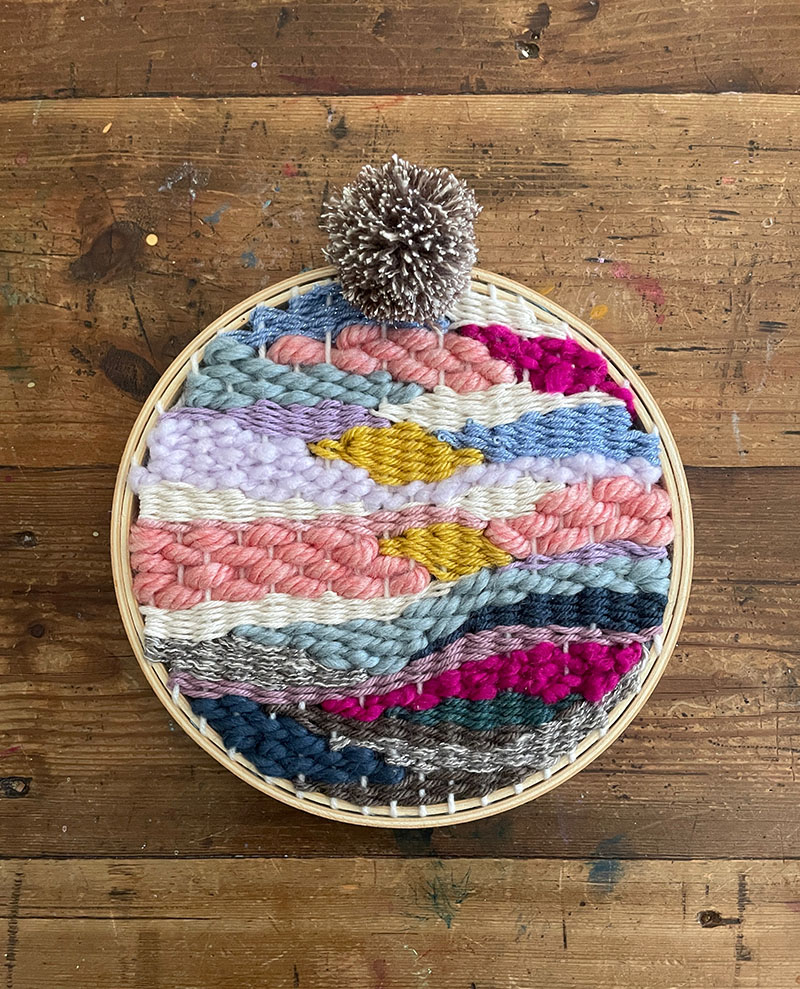
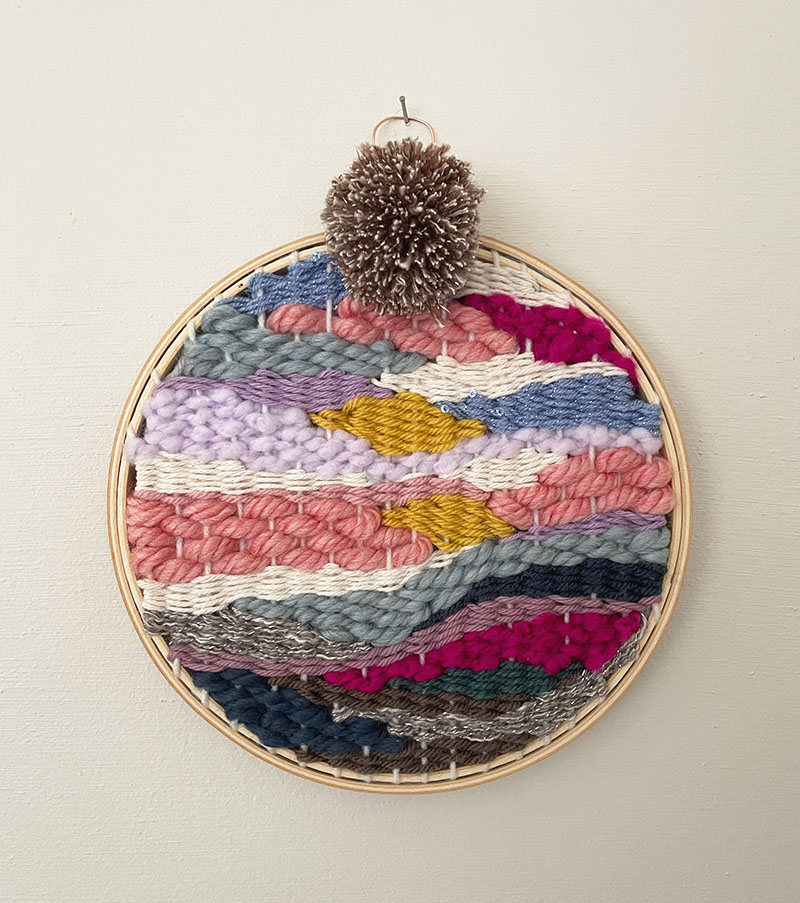
My mind is regularly making an attempt to in shape in time to weave. I am these a beginner, and really don’t definitely have a design, but I love playing close to with colour and form. This time I tried out a spherical doodle weaving employing an embroidery hoop! I didn’t stick to anybody’s guidance, I just built it up as I went alongside. I am guaranteed there are better techniques to do this, but I just employed tape, yarn, and a glue gun.
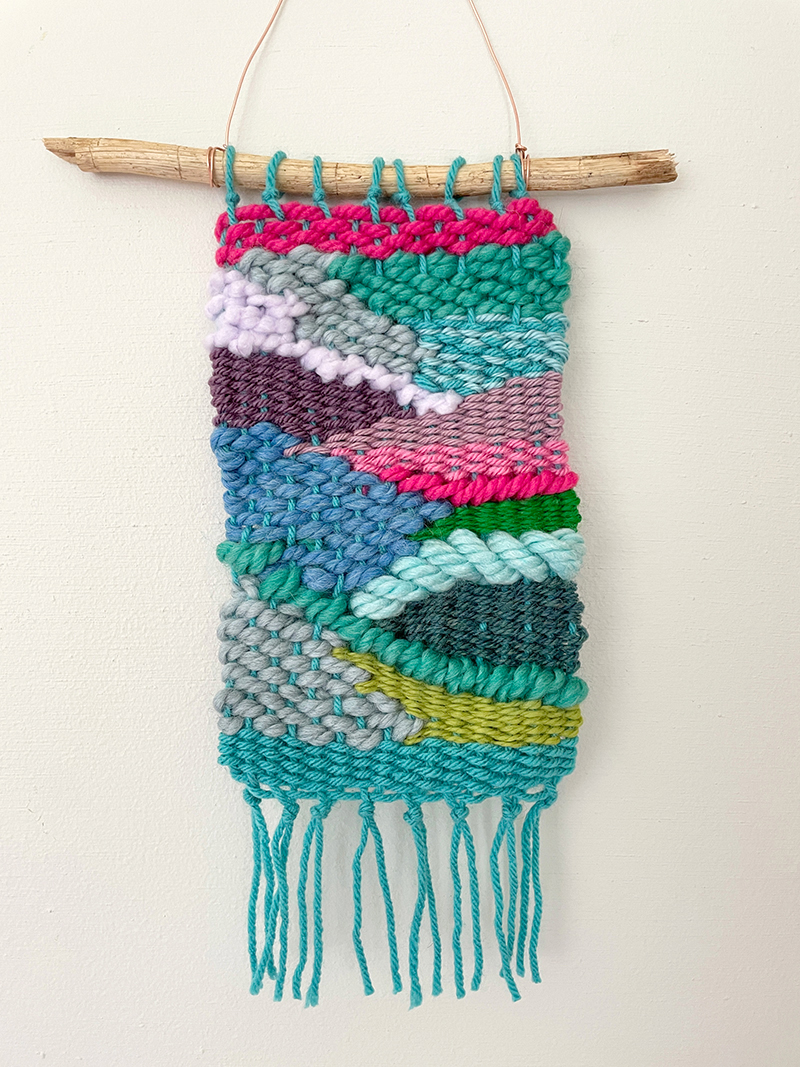
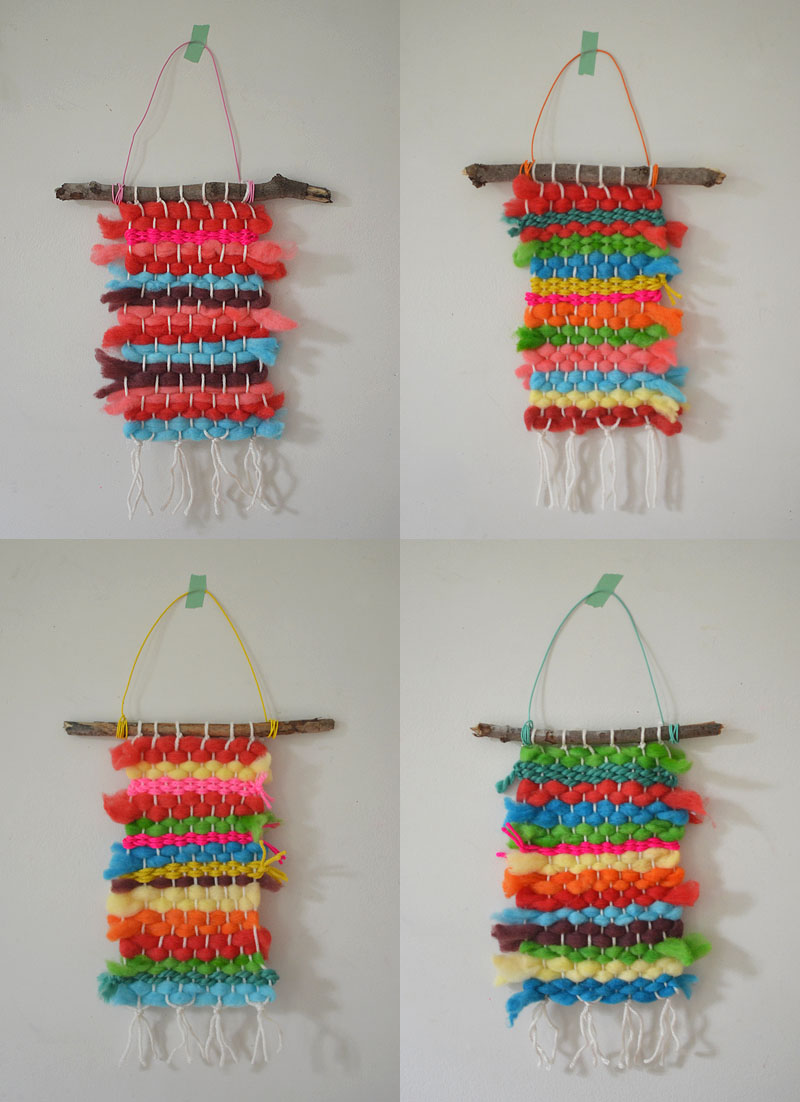
For additional in-depth instructions, see my 1st doodle weaving below. I utilized the exact same method.
And if you want to see a small movie, simply click here to watch my Instagram reel.
[ I am a participant in affiliate programs designed to provide a means for bloggers to earn small fees at no cost to you by linking to Amazon.com and affiliated sites. ]
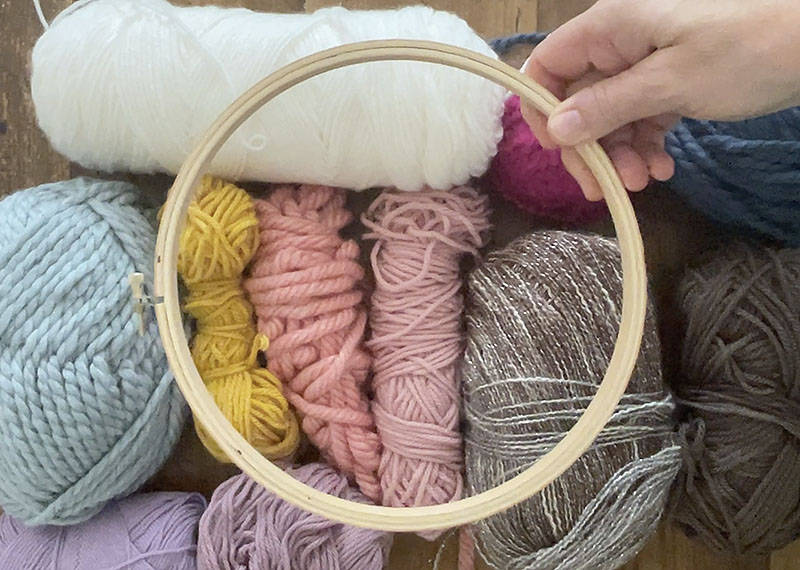
Materials required for round doodle weaving:
~ Yarn in different hues and weights (you can go to a craft retail store or obtain on the internet – affordable yarn is just fine)
~ Wood embroidery hoop (I applied an 8-inch hoop)
~ Masking tape
~ Pom-pom maker (optional)

How to make a round doodle weaving:
1. Established up the warp (these are the vertical threads). I did this by slicing a entire bunch of threads and then taping them to the aspect of the hoop. I did not measure, just eye-balled. I also loosely taped the hanging threads up to the side which is why it seems like there is so considerably tape.
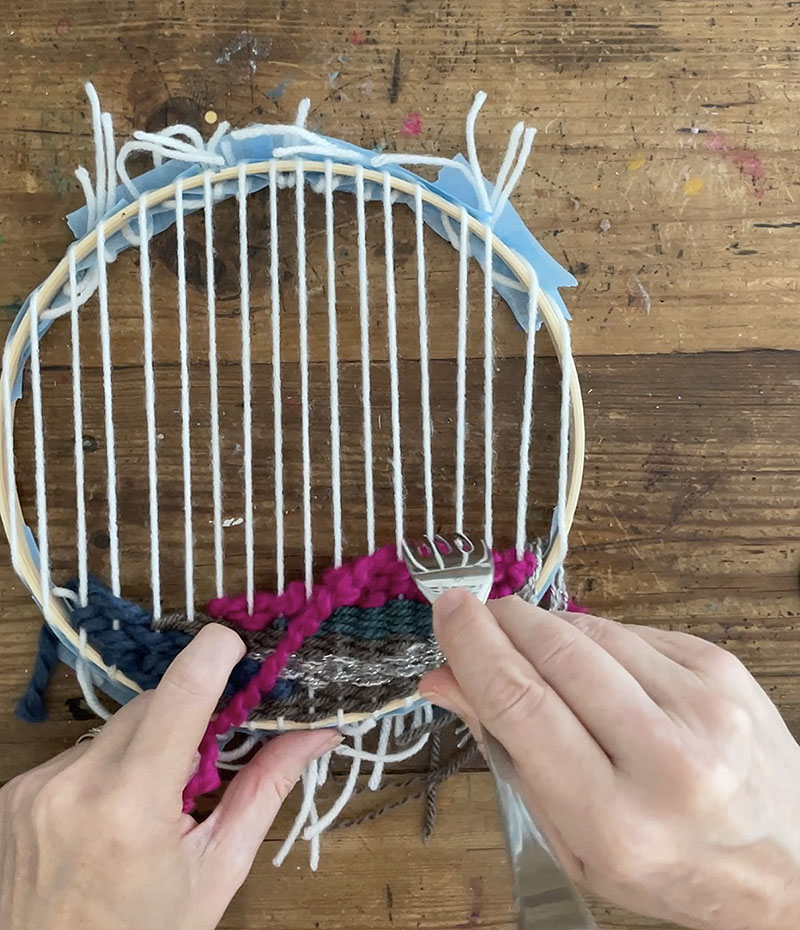
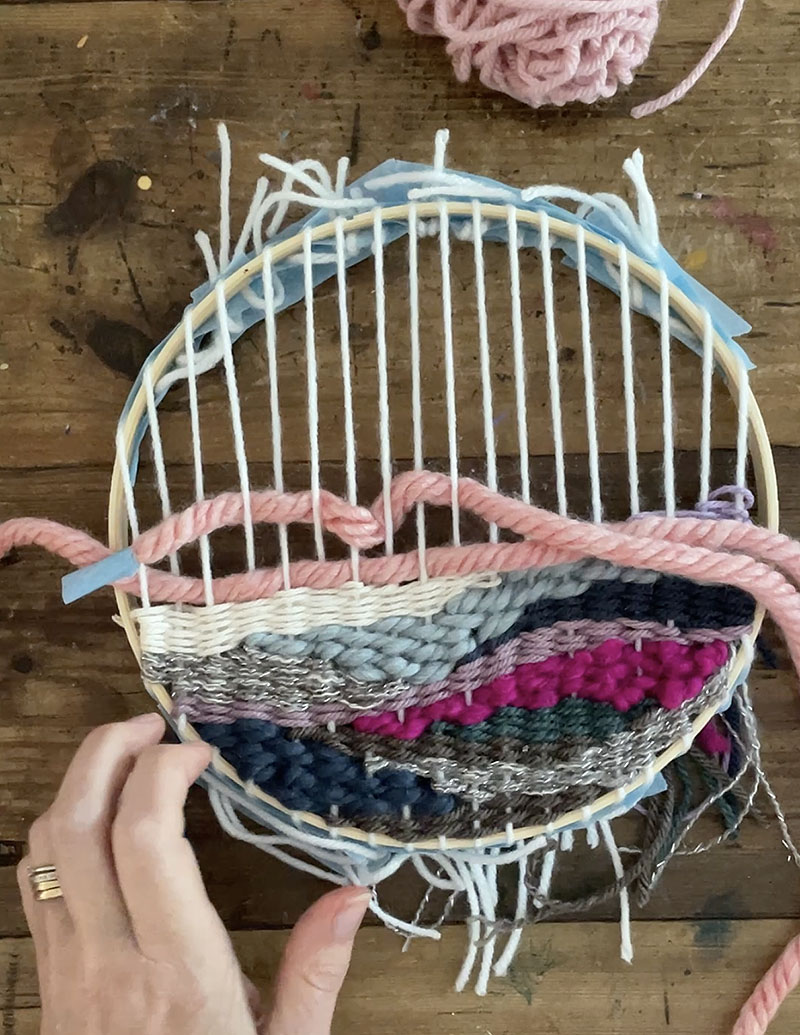
2. Start out weaving. Anything goes, in this article. Refer again to my initial doodle weaving write-up for additional explicit instructions. Just begin and end beneath. And use a fork to drive down the weft (those people are the horizontal threads).
3. I use a “shoelace” procedure when weaving whereby I wrap the stop of the yarn with a piece of tape so that it’s easier to weave with. This is since I simply cannot locate my plastic weaving needles. But it’s also for the reason that I just cannot see well more than enough to thread the needle. This technique performs seriously perfectly for me. It is rapid and quick.
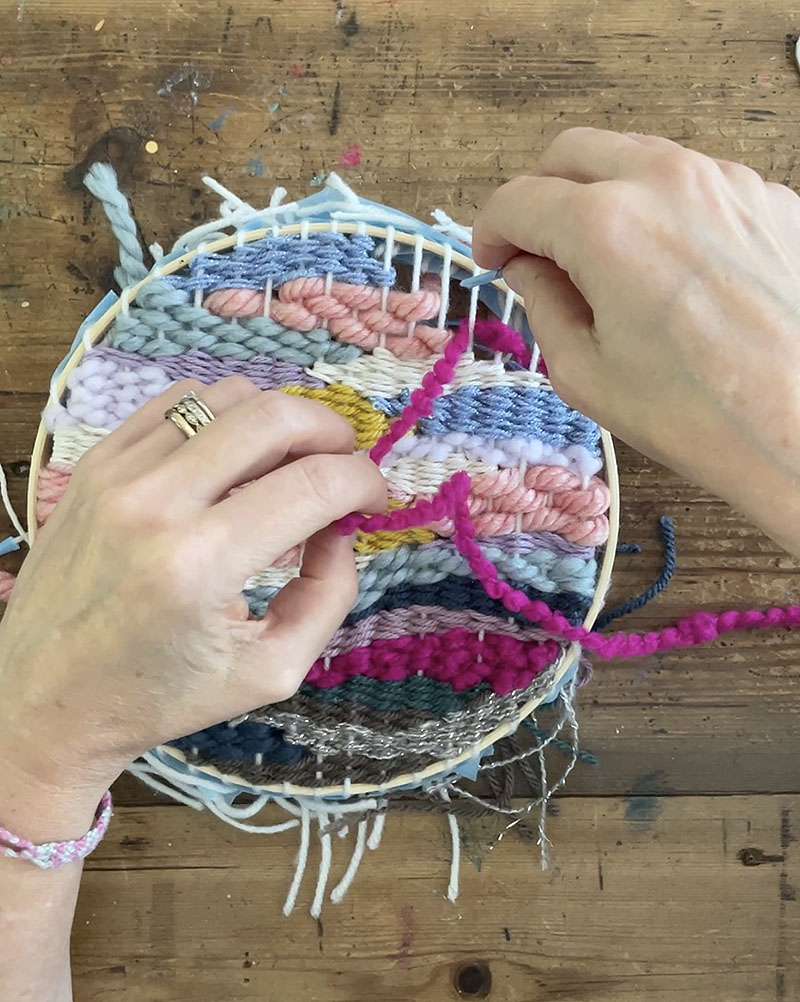
4. You do not have to go from bottom to top when doodle weaving. You can start any where and go close to until it is all stuffed up. I eventually want to weave like I would draw, but for now I instinctively go base to leading. You can also go back again in and fill areas if there are gaps. The fork really will help to make it all tight.
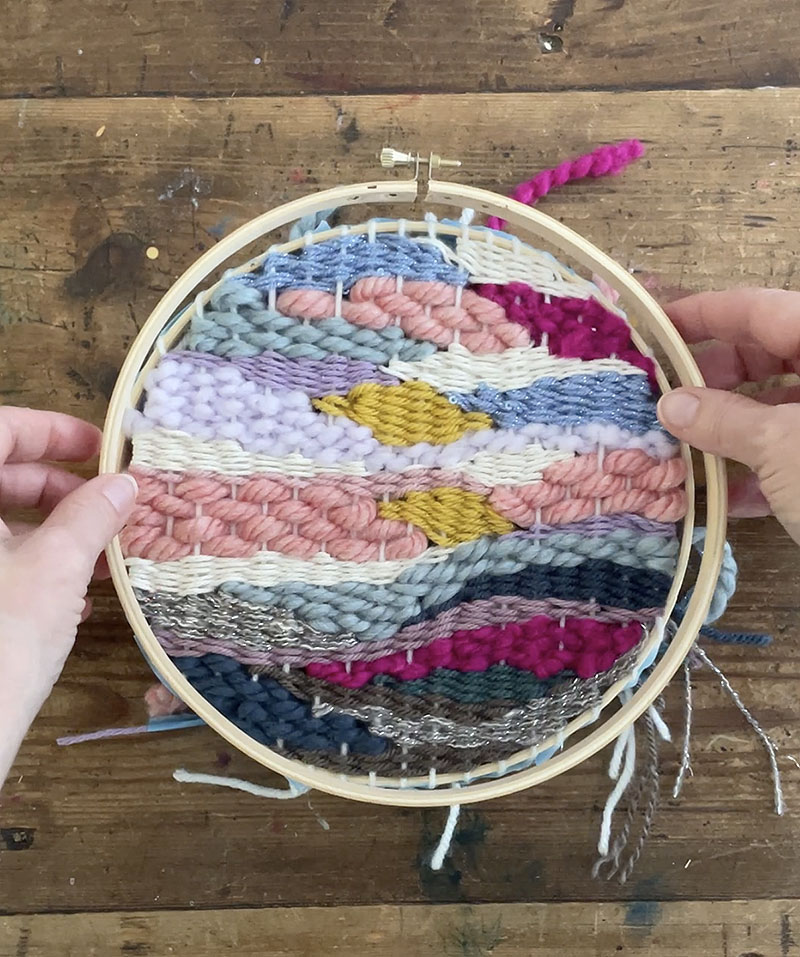
5. When completed, I pulled off the blue tape that I employed to loosely hold the ends, but I remaining the tape that holds the warp. I built positive you could not see it when positioning the outer hoop above the inner hoop. Tighten the outer hoop as limited as you can.
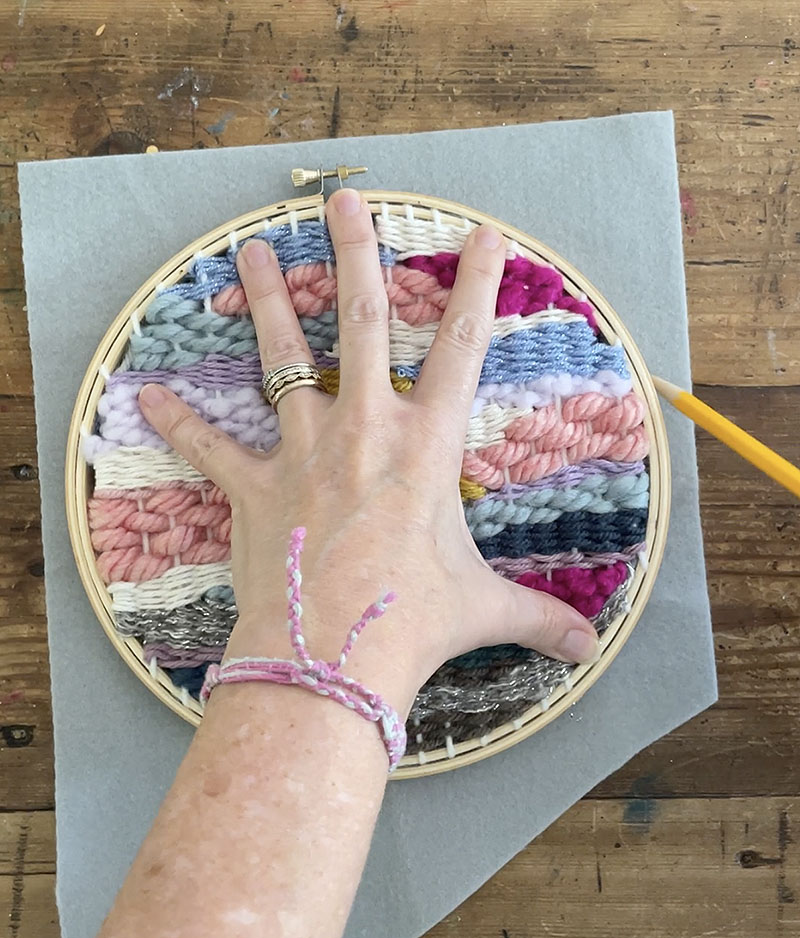
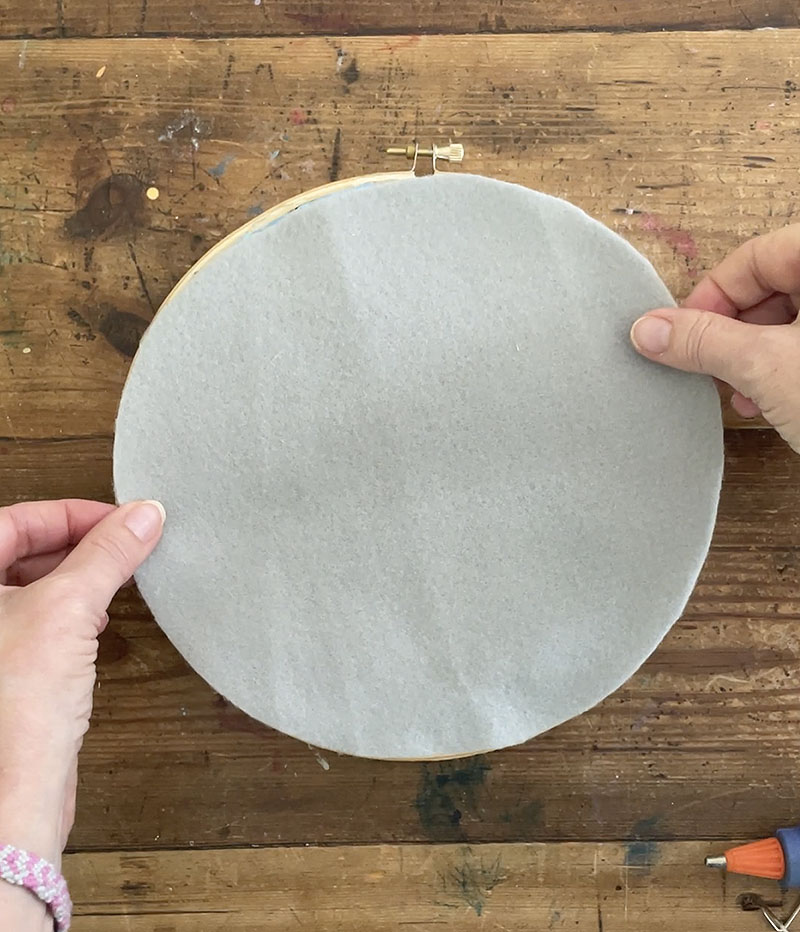
6. Trace the hoop on to a piece of felt with a pencil.

7. Sizzling glue the felt to the back again. This is a definitely uncomplicated way to complete the weaving so you don’t have to offer with all the ends!
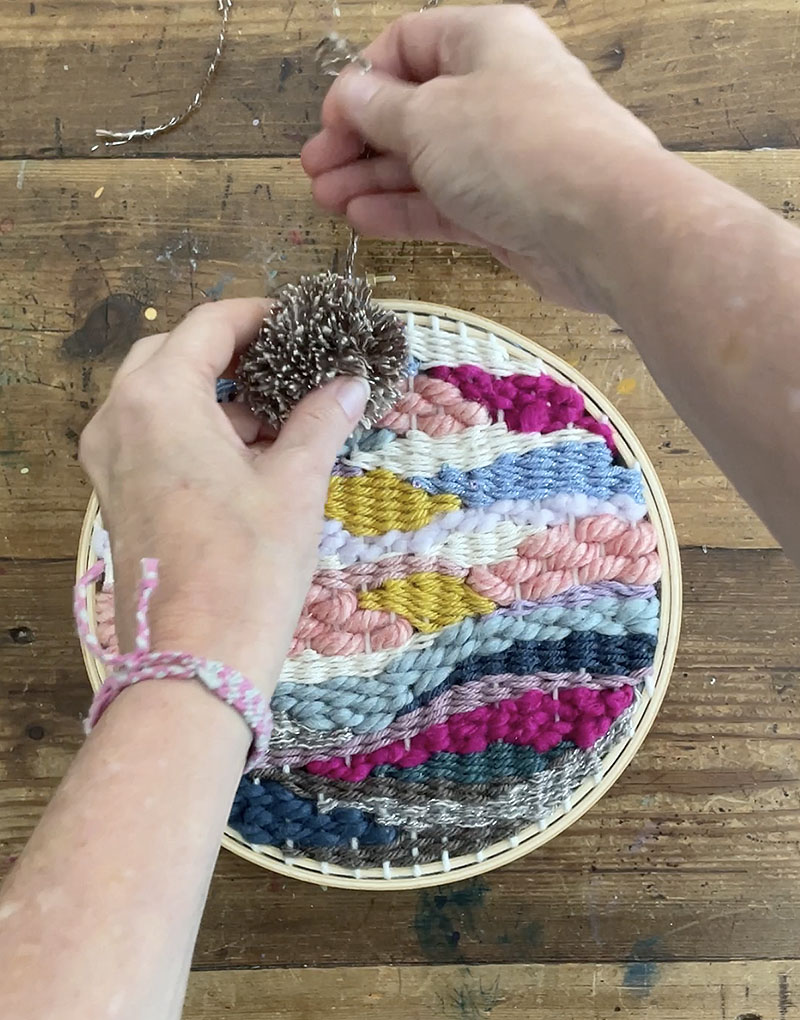
8. Make a pom-pom to go over the small knob on major of the hoop. Insert a piece of wire to dangle!
Voila! Do not forget about to observe the movie!
xo Bar
– – – – – – – – – – – – – – – – – – – –
Did you like this submit? In this article are extra craft concepts working with yarn:
Doodle Weaving with a Cardboard Loom
6-Pointed God’s Eye with Sticks
Rainbow Weaving with Koolaid Dyed Yarn