
If I had to select one particular art medium for the relaxation of my daily life it would be fibers. I am constantly drawn to them, even from an early age when I only preferred to wear corduroy pants mainly because I could operate my fingers throughout the grooves and make a great seem. My aim as an artwork big in school was textile design, and in my creative profession above the earlier 30 years I have began a children’t garments company, a quilting company, and there isn’t just one wall in this property that doesn’t have 1 of my homemade fabric banners (hold out until eventually you see my up coming article!). I am expressing all this to inform you that I last but not least attempted doodle weaving and I want to do absolutely nothing else all day each and every working day!!
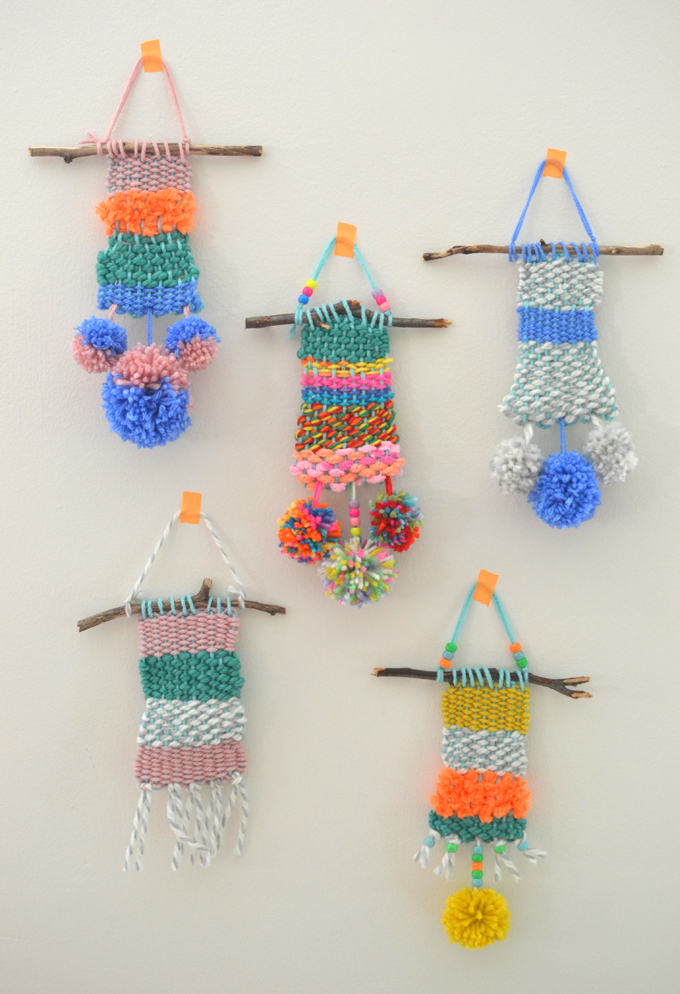
The finest portion is that there are really no problems to be made… just experimentation and color exploration. And you barely have to have any materials, and there is no mess, and you can consider them on a vacation, and youngsters as younger as four can make them as well. So quite a few explanations to can make one particular! Do you want to give it a try out? Okay, superior. Allow me show you how it is completed.
Supplies Wanted for Doodle Weavings:
~ Piece of cardboard for the loom (mine is 10.5″ X 6.5″)
~ Scissors
~ X-acto knife
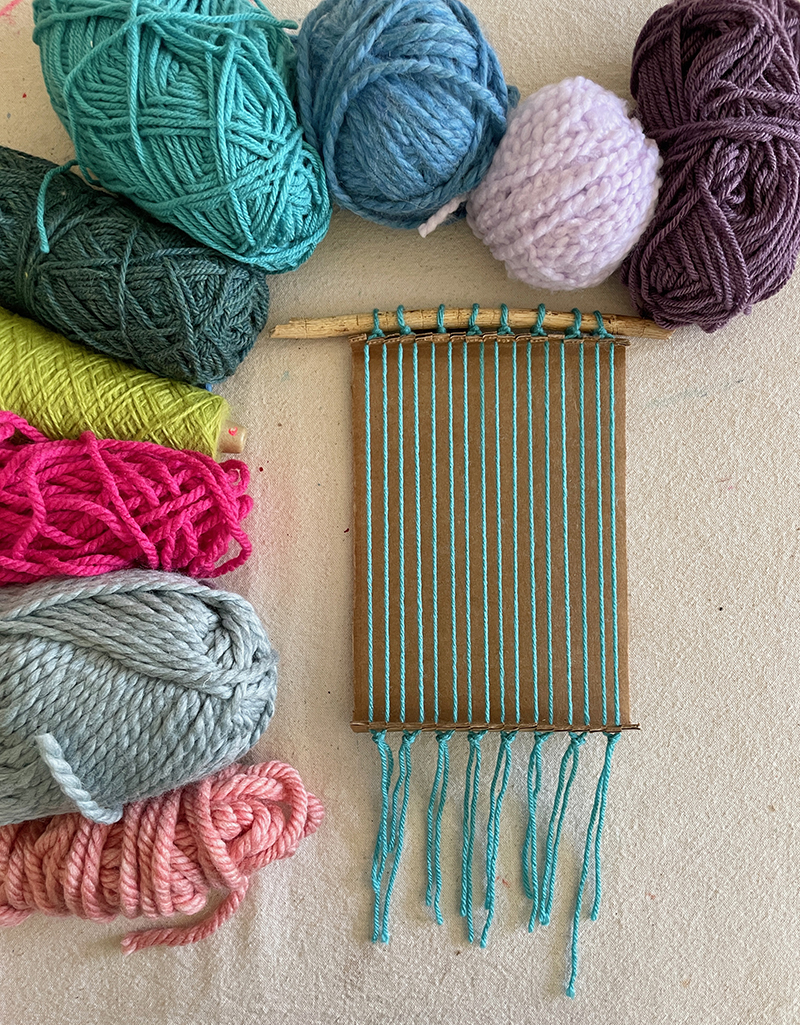
~ Yarn in several weights and colours
~ Plastic lacing needle or masking tape
~ Stick
~ Fork (for pushing down the weft so it suits snuggly alongside one another devoid of gaps)
How to Make a Doodle Weaving:
1. To start with, make the cardboard loom.
Action 1: Slash a rectangular piece of cardboard, I occurred to presently have a piece that was 6.5 inches huge and I reduce the length to 10.5 inches.
Phase 2: Fold the ends up about 3/4 of an inch. You will want to “score” the back with an X-acto knife and then bend it up. This indicates you slice a shallow line at the level in which you want to bend it on the opposite aspect to assistance bend in a straight line.
Step 3: Minimize an even volume of slits with scissors on possibly end for the warp (that’s the stationery yarns that go up and down). I designed 16 slits simply because I preferred my warp to be restricted. But if you are employing a ton of major, thick yarn or accomplishing this with tiny youngsters then probably you want to do 12 slits. You can see these rainbow weavings that we did in art camp for a loom with 12 warp threads.
2. Connect the warp.
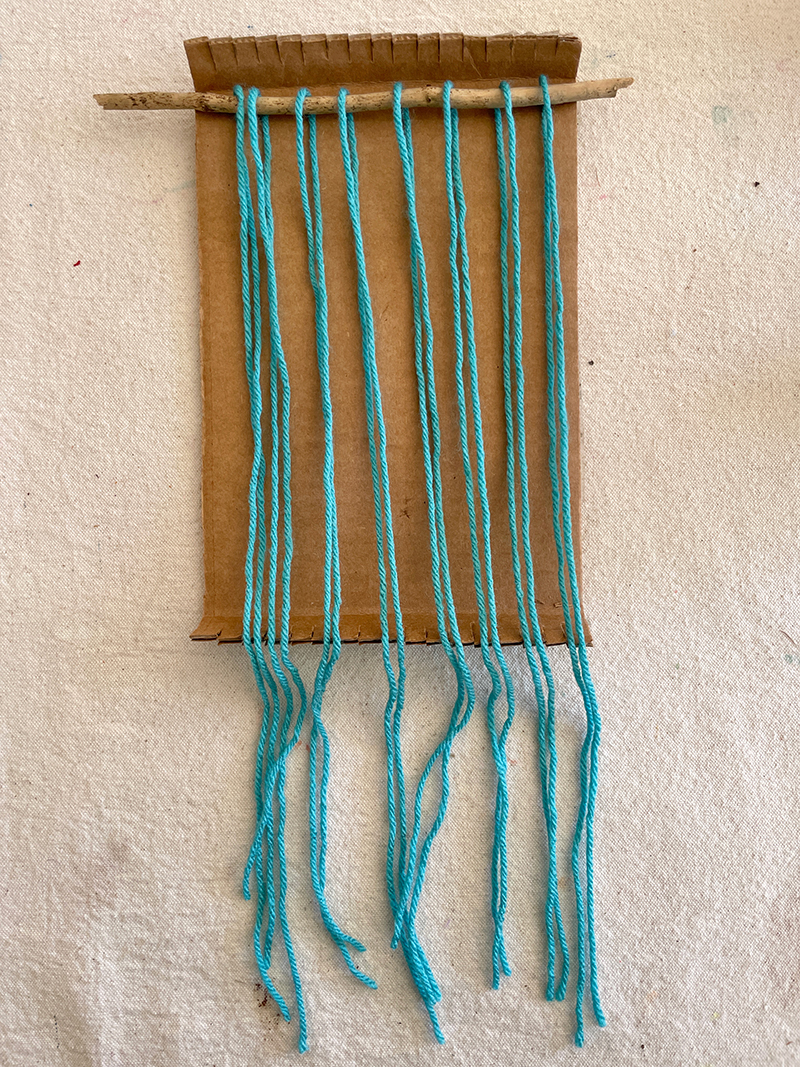
Stage 1: Reduce a person warp yarn for each individual two slits. I slash 8 incredibly long parts. Each yarn should loop all over the leading and hang down at the bottom to produce the fringe.
Stage 2: Double-knot the best all-around the stick, higher than the loom, then press the yarn into the slits.
Action 3: Press the other close of the yarn into the bottom slits and then pull so the rigidity is not as well free and not to limited, but earning certain rigidity is equal with all warp threads.
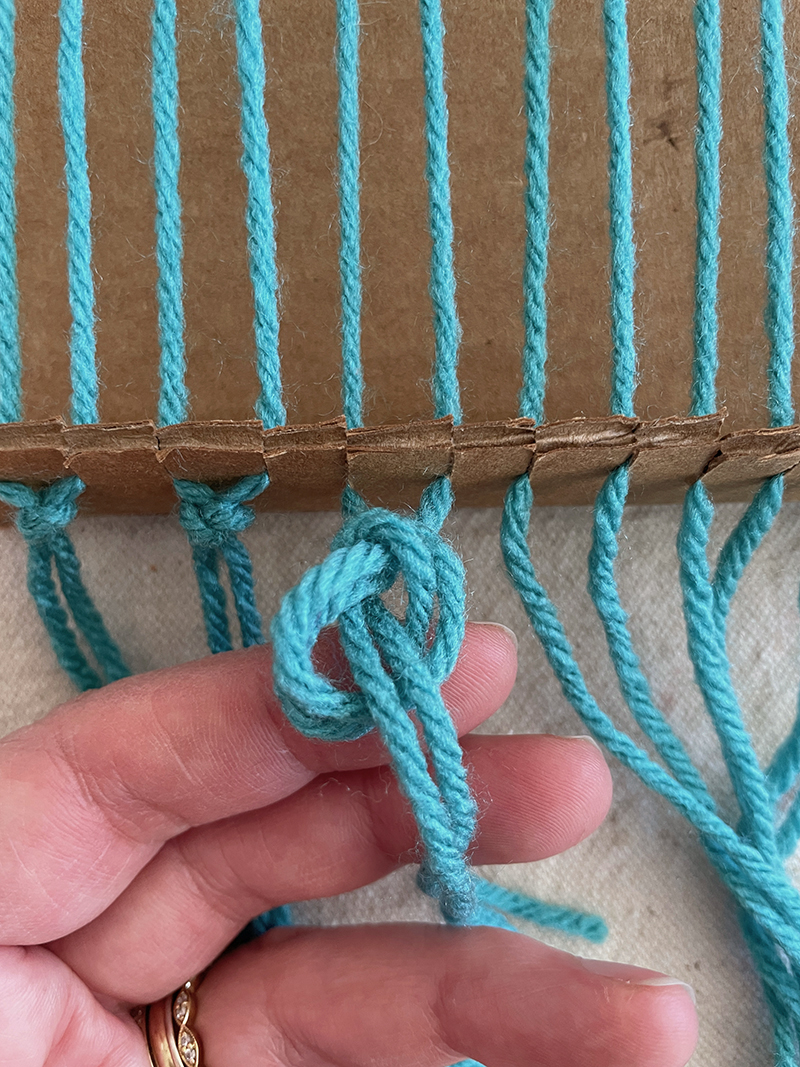
Phase 4: Tie knots at the base to create the fringe. Really do not trim the fringe yet, wait around to do that at the conclude.
3. Start off your weaving.
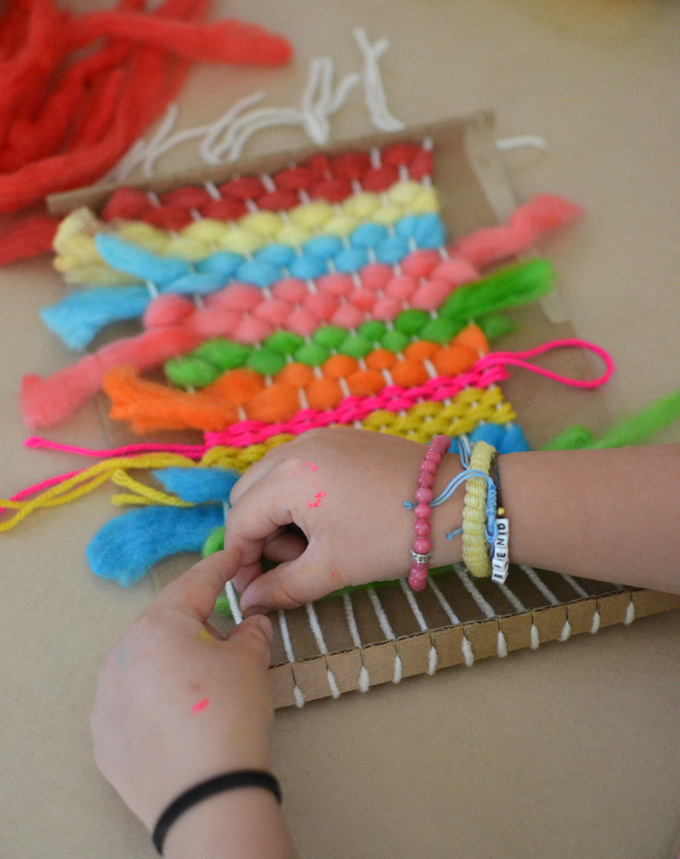
Move 1: Decide on your weft colours (the yarns that go across) and choose just one colour to begin. If you have a needle, good. If not (I could not obtain mine) you can tape the conclude of the yarn like a shoelace which aids weave by the warp.
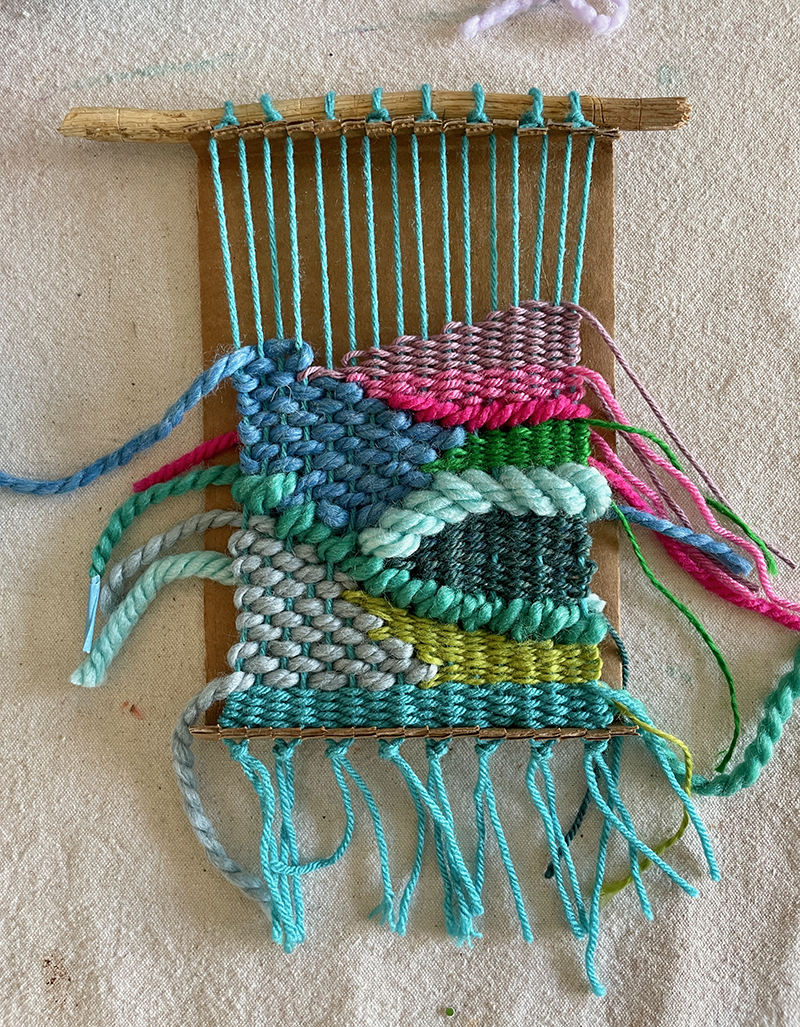
Action 2: Beginning at the bottom, weave a couple of rows just straight throughout. If you have hardly ever performed weaving ahead of, consider a glance my weaving with young ones publish which clarifies in detail how to weave. It is in essence just more than and less than, then back throughout in the opposite over-beneath pattern. It is not difficult, but it can be quick to fall a warp thread or ignore to modify sample on the way back. So following each operate by way of, use your fork to drive down the weft and eyeball that points look fantastic. And try to remember to be very careful not to pull the yarn too tightly on either aspect. This will distort the weaving. Youthful youngsters do this most of the time, but you can train them to view out for that.
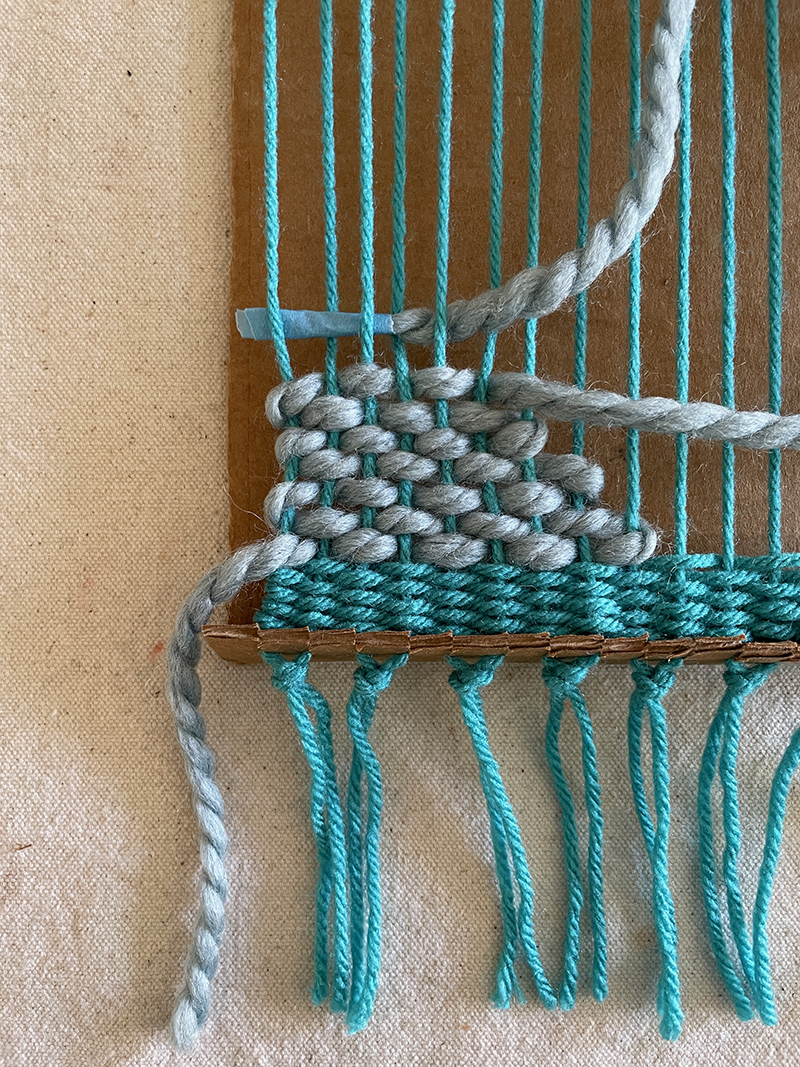
Step 3: Right after you have a handful of rows on the base, you can start off “doodling” with various yarns. Get started any where and just make a form. I was loosely contemplating of mountains when I created this which served in my doodling.
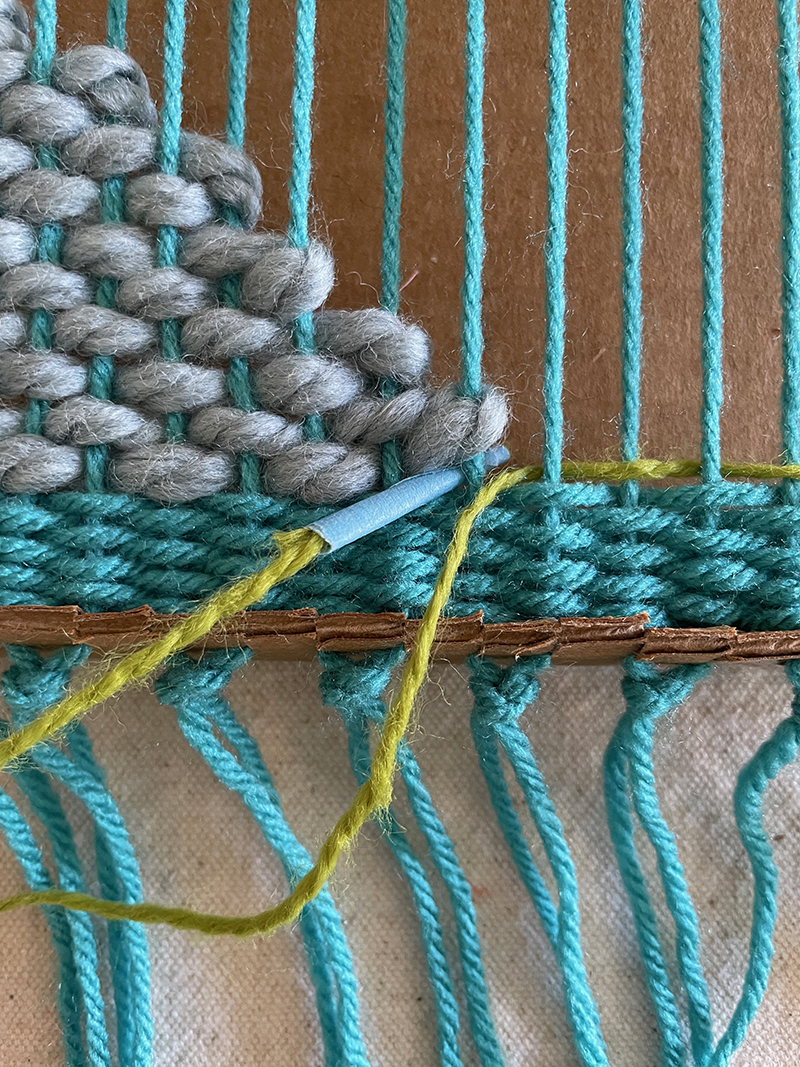
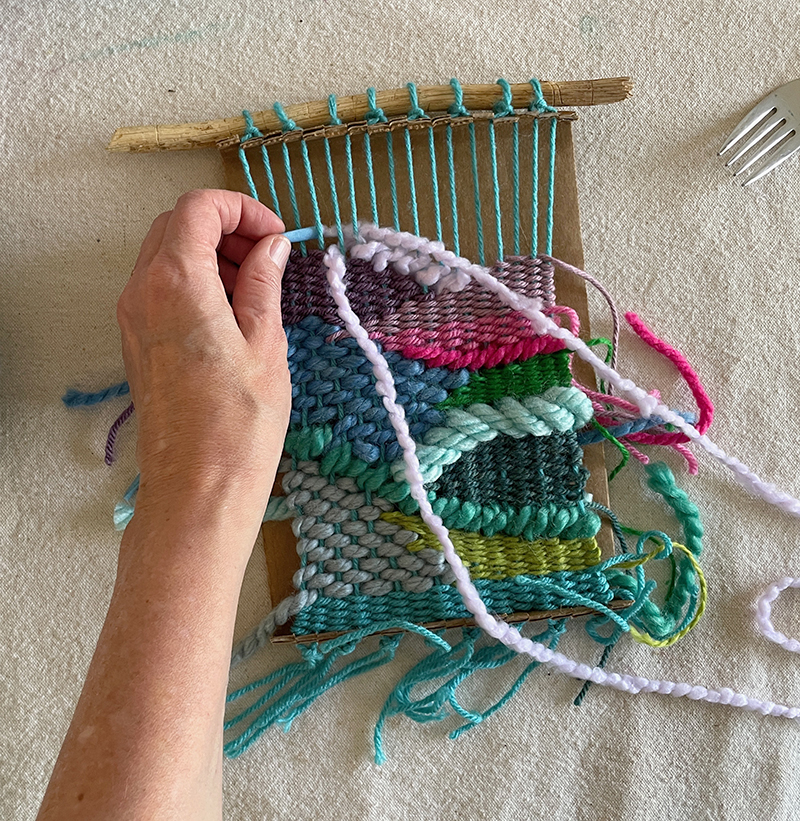
Phase 4: When you’re ready for the upcoming colour, just start off future to the very last color, even if you’re commencing in the middle. To steer clear of gaps in the weaving, make sure that the following color is woven over some of the same warp yarns that the final color employed. But if you do find that there are gaps at the conclusion, you can also just go again and fill them. This is doodling, so nearly anything goes!
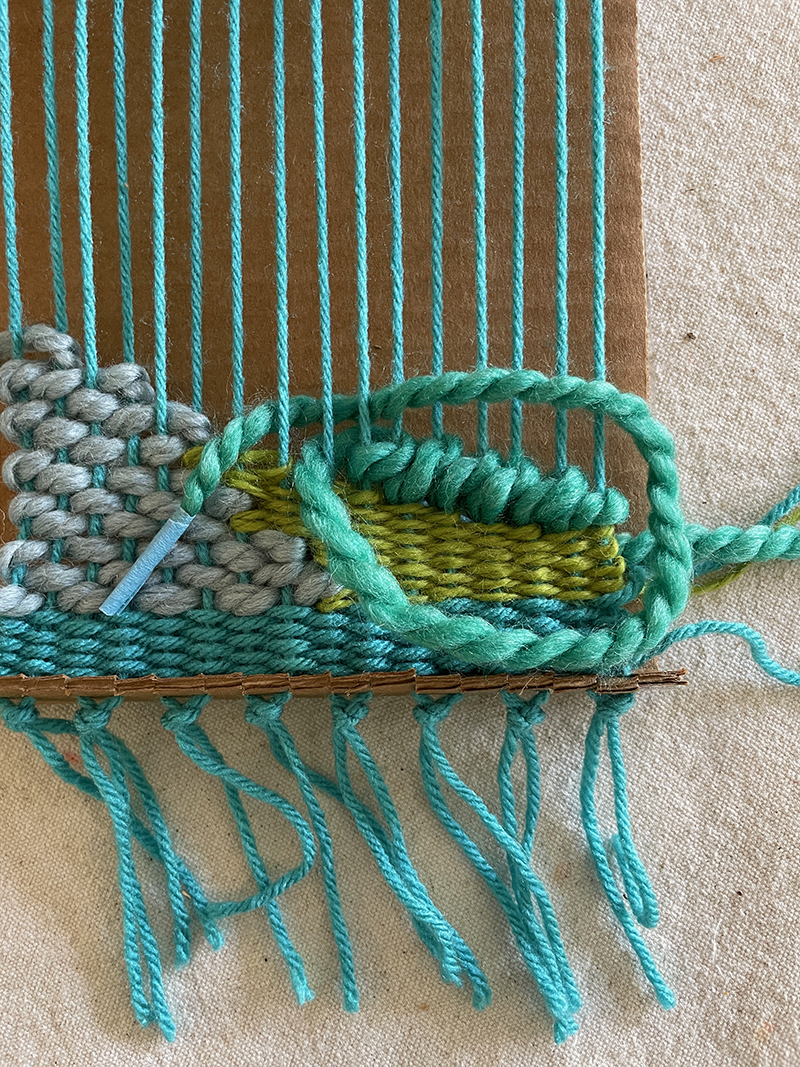
Stage 5: Consider some other varieties of weaves. I really do not know what this is referred to as (below is a glossary of diverse weaves if you’re fascinated) but I just designed it up and it seemed awesome and interesting. I like mixing puffy, thick yarn with thinner yarns. For me, the colour is as important as the texture.
Remember, each individual time you commence or conclusion a new colour, leave a tail. You can even depart the tape on the conclusion simply because you can use it afterwards to finish the back.
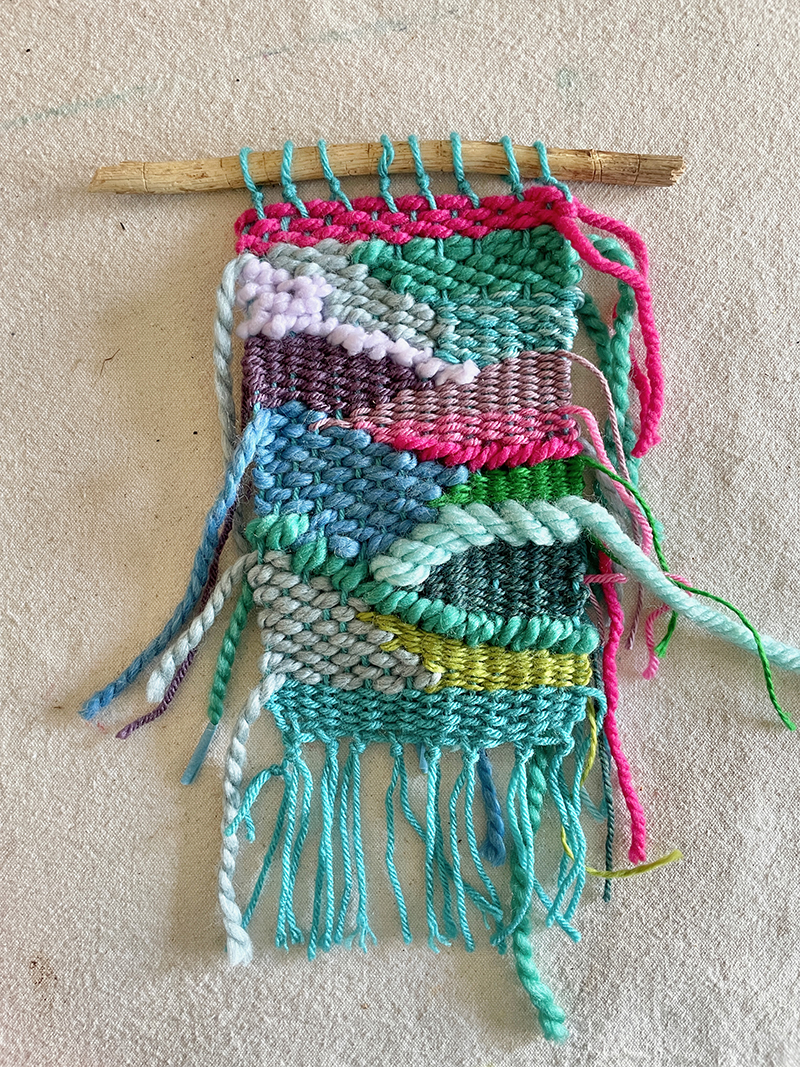
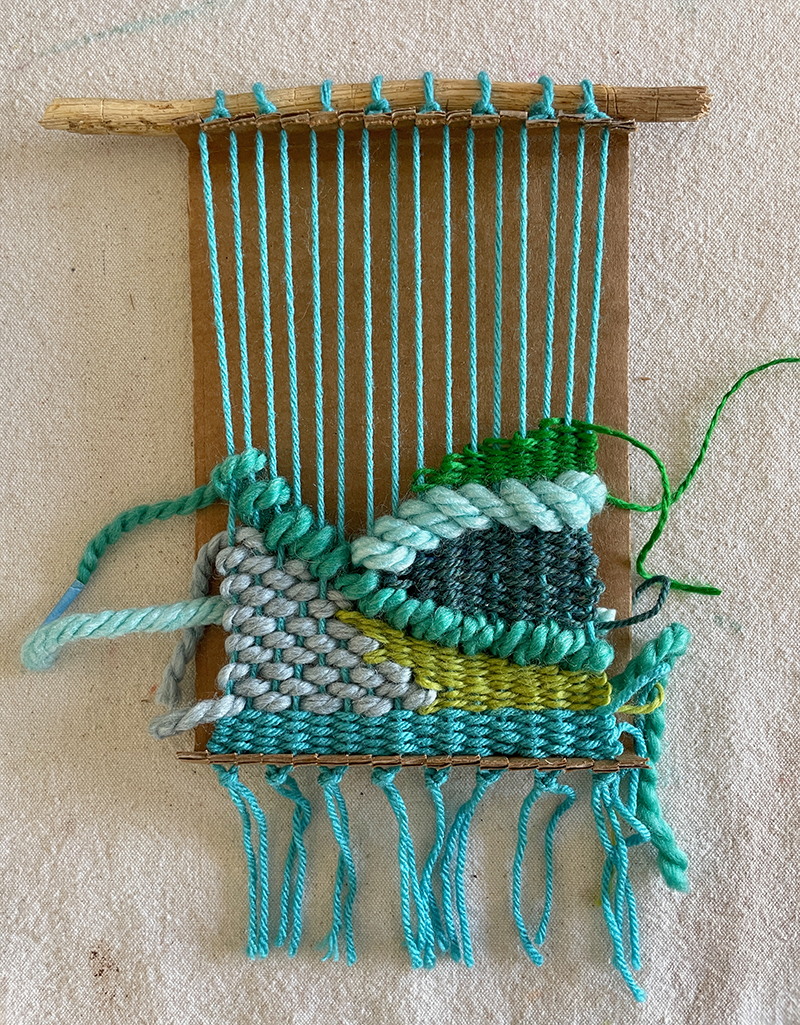
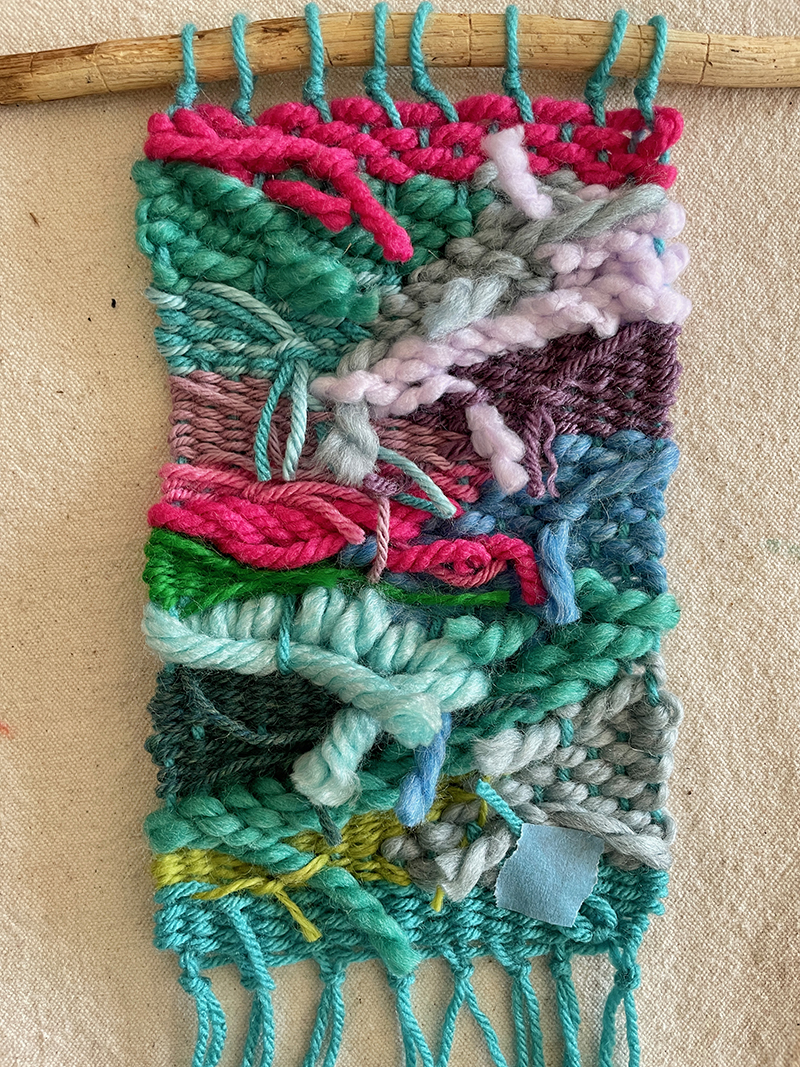
Step 6. When you get to the best, weave a several straight rows to finish. Very carefully pop the warp yarns off of the loom. You will come across that there is a tiny extra area at the major and bottom. You can possibly thrust the weft yarns around a bit to fill the place, or weave a couple additional rows to fill the area.
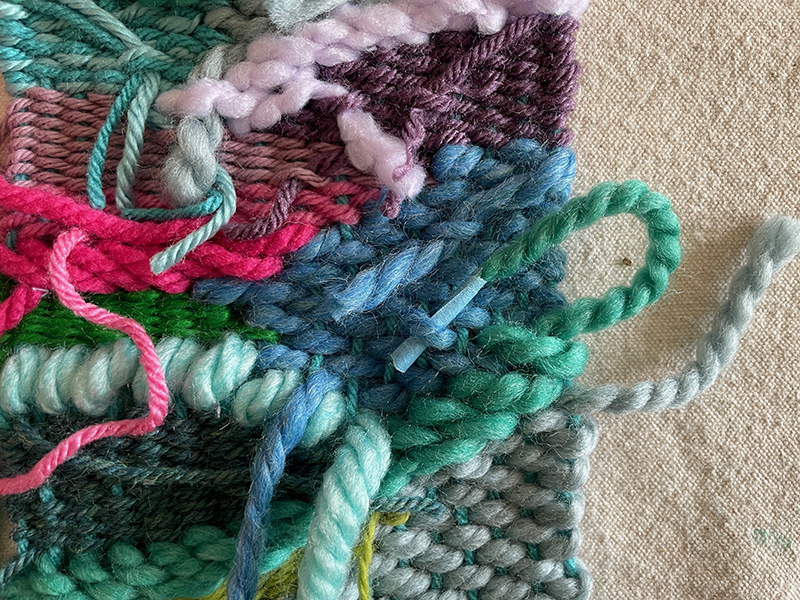
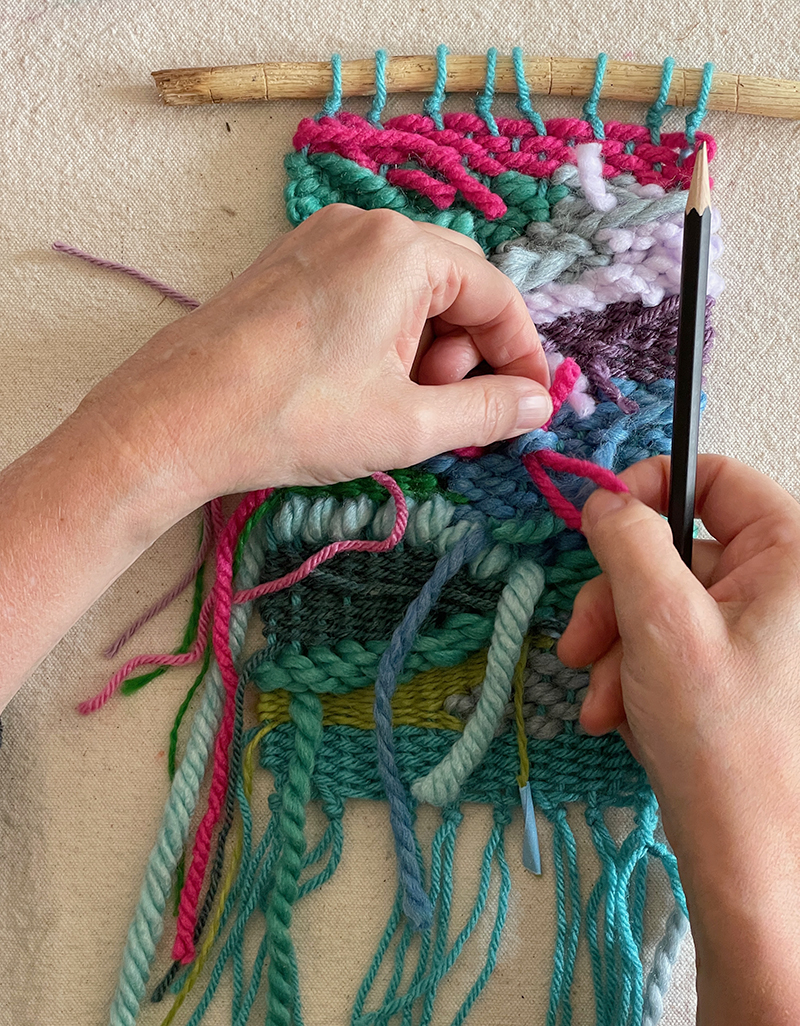
Action 7: Now it is time to complete the again. Initial, make positive all the tails are looped by way of the ultimate warp yarns at the finishes. Then, flip your weaving in excess of and just start weaving the tails back again via some of the warp or weft threads. You can either use the taped finish, or use a uninteresting pencil to pull up a loop a bit, then tuck the tail underneath.
When all the tails are tucked in (you may perhaps have to use masking tape occasionally if there is nowhere to tuck one thing), snip them to about an inch or so.
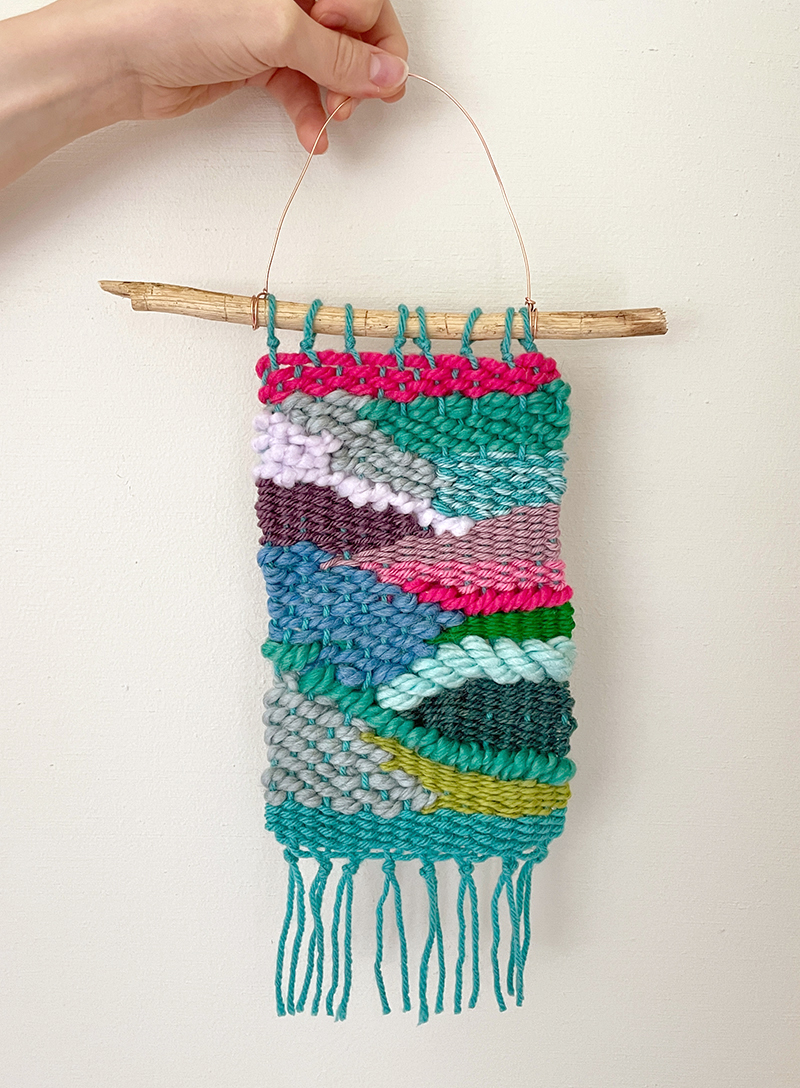
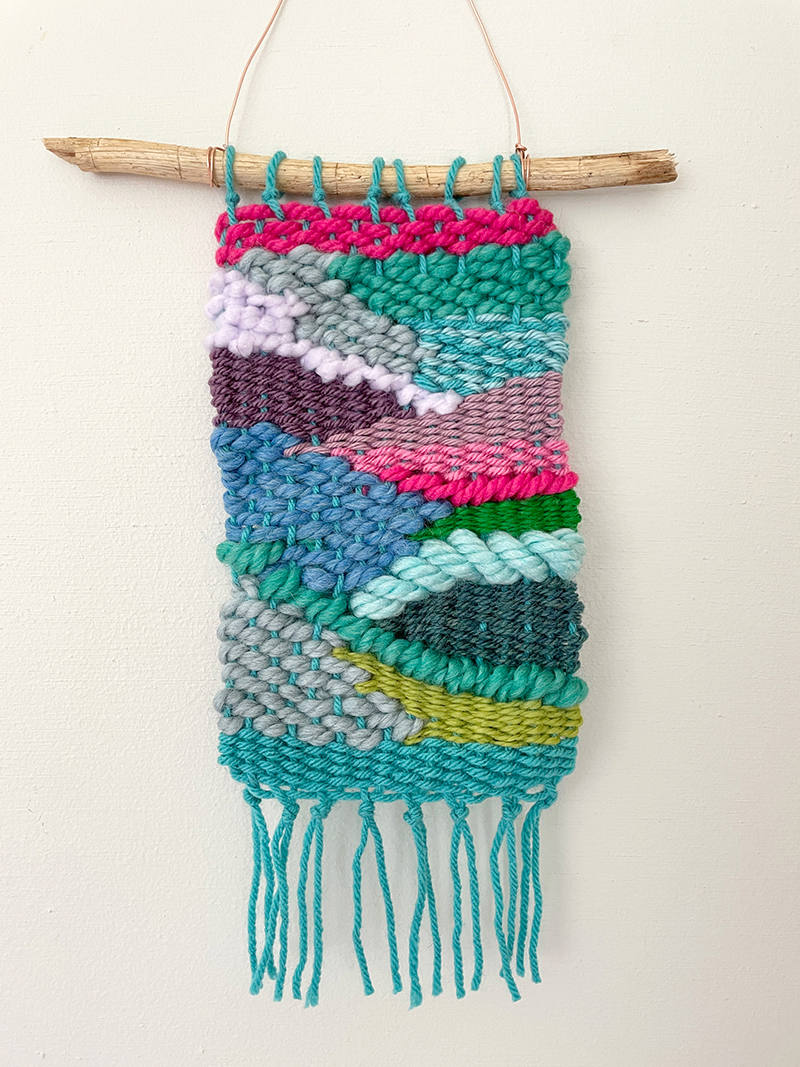
Move 8: Trim the base, add a wire hanger, and you are performed! I hope you like your weaving and are pretty very pleased of it. I like mine so much and can not wait around to make far more!
xo, Bar
– – – – – – – – – – – – – – – – – – – –
Did you like this submit? Here are some a lot more resourceful ideas employing fibers!
Weaving with Little ones
Rainbow Weaving with Koolaid Dyed Yarn
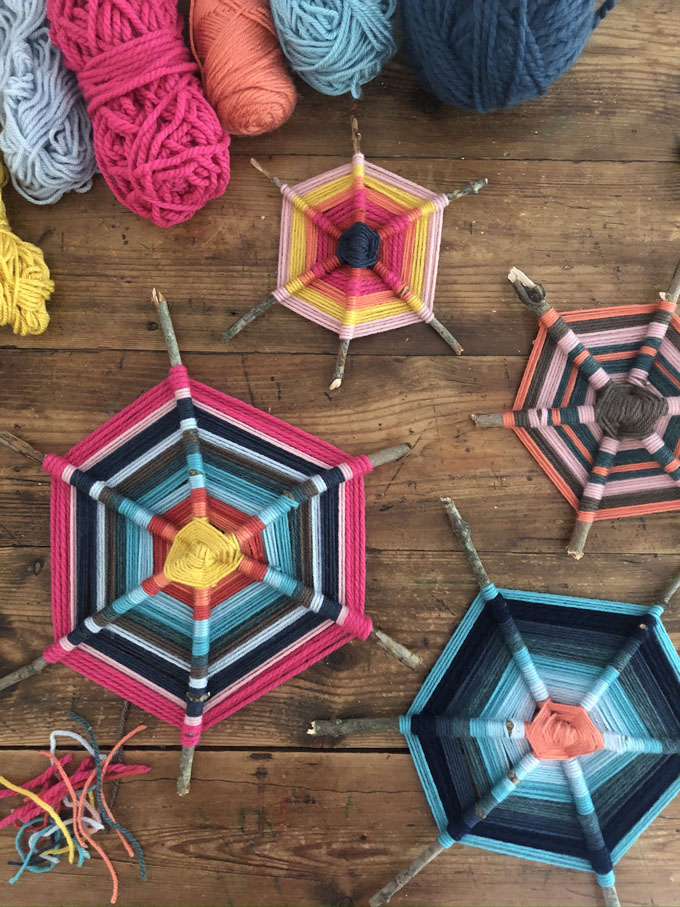
Building God’s Eyes with Sticks


