
Coloured pencils are a match produced in heaven for botanical topics, precision and detail. They are transportable, forgiving and available and by working with layering tactics they offer you the skill to build and reproduce lively pure colours on the web site which are a joy to behold. As the seasons modify and the cooler months make their way to our doorsteps, what can be nicer than filling our inventive planet with the color and pizazz of amazing botanical artwork. In this article I will share with you some tricks of the trade working with Derwent’s Procolour pencils and how to make the ideal environmentally friendly.
The pencil best for good element
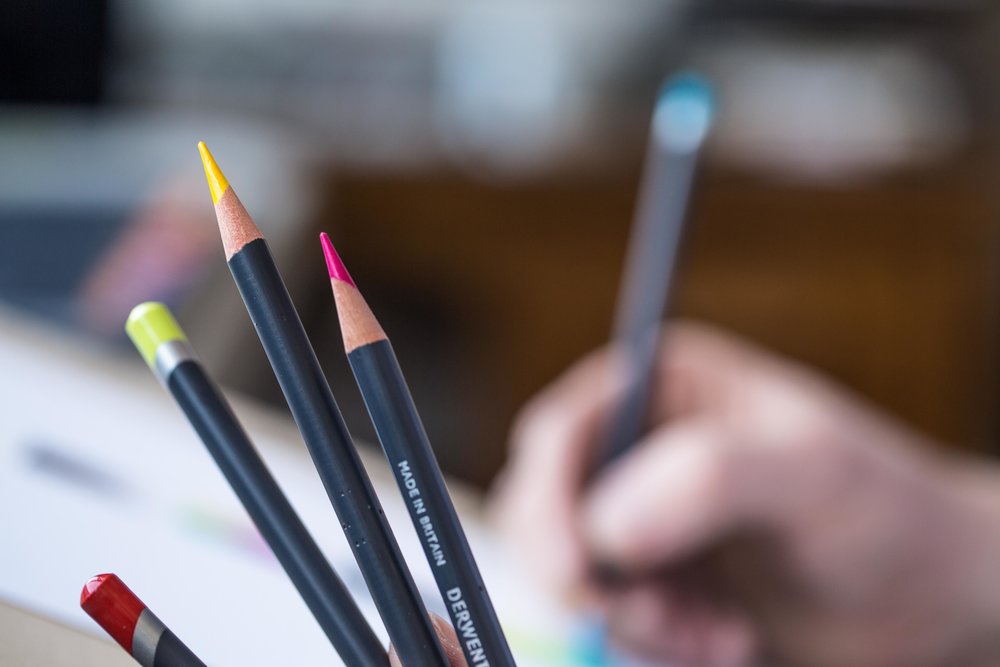
Procolour pencils are element of Derwent’s specialist range, and offer coloured pencil artists’ the great combination of a sturdy point and easy laydown. They merge the very best of the Artists’ and Coloursoft ranges. Remarkably pigmented Procolour have a texture that applies effortlessly like an oil-based mostly pencil but with the masking energy of wax. Their resilient, sharp stage enables for drawing even the finest of element with lasting precision. Although small dusting usually means that your get the job done will continue being thoroughly clean and smudge-no cost. These pencils can also reach beautiful blended benefits with a variety of add-ons and mediums, including Derwent Blender Pens and Derwent Paper Stumps.
Texture, tone, colour and shape
Character is normally moving, flowing and evolving. It features a prosperity of superb subjects from the quite bold, structural, singular, architectural and vibrant, all the way via to very small composite organisms such as lichen and microscopic algae. All subjects have their intricacies with their very very own secrets to unlock and check out.
Simplify the shape
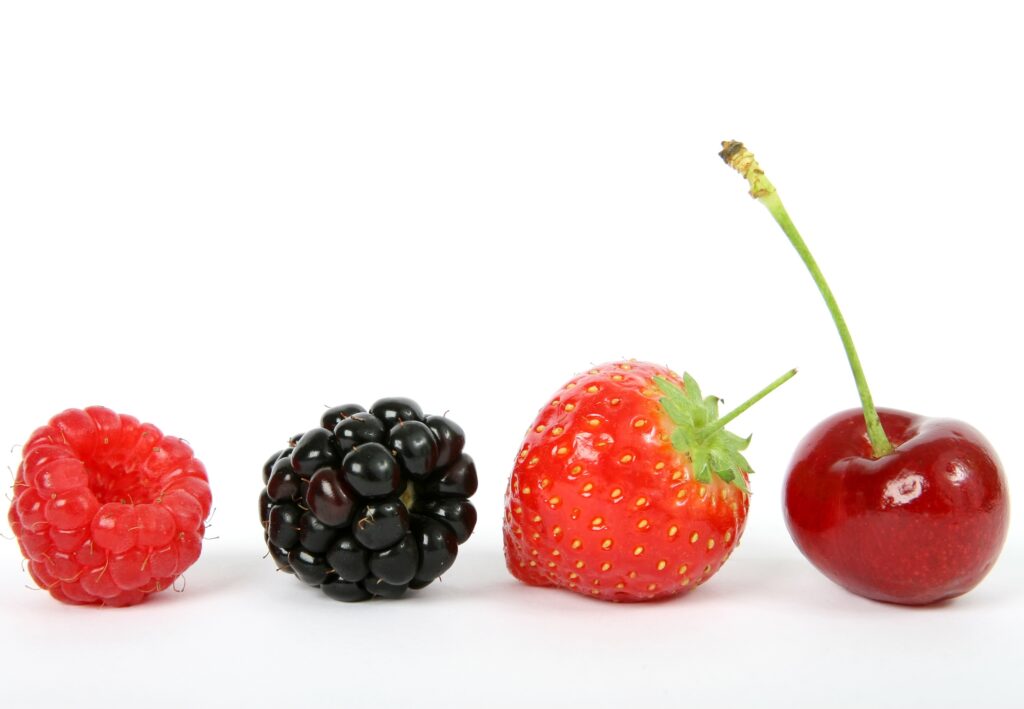
To categorical the condition and form of bouquets, fruit, grasses or foliage in botanical drawings, appear at the picture and crack it down into its basic geometric kinds. A sphere, cup, cone or tube. Each individual component will have highlights (reflections from the light) and shadows (where by the gentle can not arrive at).
Identify the tones
Constantly use at the very least a few tones of the very same colour pencil and goal for a easy transition and graduation of tone involving them. This is notably significant on clean surfaces, spherical surfaces & water droplets way too! Right before you begin, discover these lightest areas and be conscious to reserve them. If the surface area of your topic is pretty shiny the emphasize will be especially vivid. So you could look at leaving the white of the paper for this. Remember ….It’s generally much easier to go darker than lighter! On the other hand, if you do finish up loosing your lightest spotlight, it is not automatically right, but a cheeky contact of a white paint pen or white gouache does wonders to restore them.
If you are not sure of your tones attempt squinting at your issue. This need to blur out all the depth and make it less difficult to establish individuals lights and darks. Or you could basically change a image of your subject to black and white (or greyscale). Then you have just the tonal values in front of you with no confusions of color.
Squint at your issue and recognize the in general shape and where the mild is coming from. Seem carefully at the colour and the place the highlights and shadows tumble. Now decide on your most important base colour from your pencils that is the closest to that colour. Pick out two or much more shades of that colour making sure that some are lighter and darker than your base color.
Prime tips on producing botanical greens
If you are intrigued in botanical artwork then you will be tough pushed to prevent utilizing the colour green! Eco-friendly is 1 of these Marmite colours! You possibly appreciate it or loath it and it can seem pretty flat and uninspiring (specifically with coloured pencils)… but here’s the top secret … to produce a plausible and appealing environmentally friendly, one particular green is never sufficient!
Tip 1 – Combine your greens
Constantly use at the very least three greens blended jointly, supplemented with other colours to adapt the mix and tone to include depth. It is all about all those levels. Warm up greens by applying yellow-greens or yellows above the major. Darken greens by incorporating a contact of purple, purple or dark blue. Recall all greens are typically produced with diverse types of yellow and blue pigments. So if you find your colored pencil provide is missing sure colors, experiment with optical mixing and use this to your benefit.
Suggestion 2 – Create a color chart
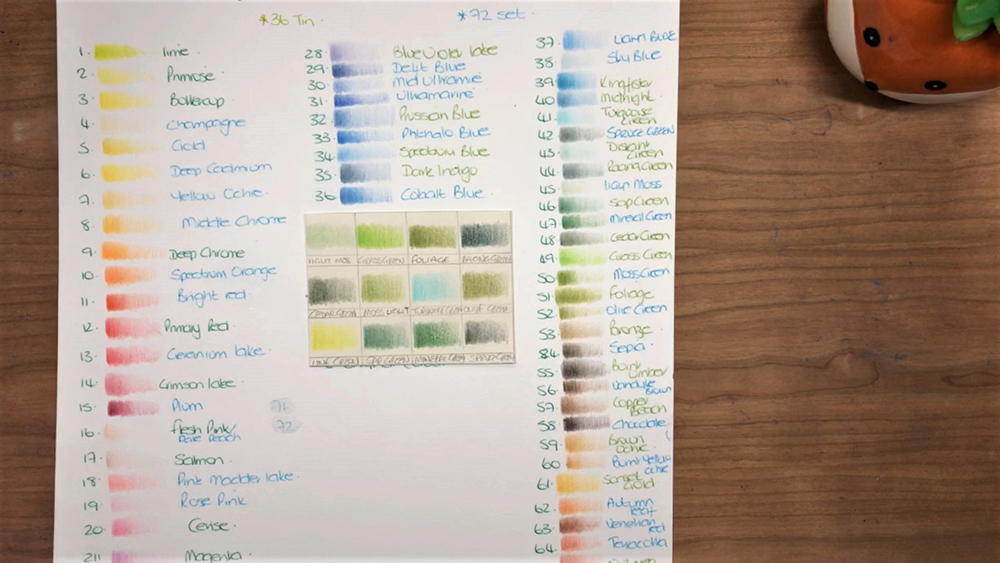
Never be beguiled by the names utilised for pencils (I’m such a sucker for a very good title). You normally see names this sort of as grass eco-friendly, moss eco-friendly, cedar inexperienced and many others. Utilised independently they normally seem really garish and artificial. The colour of the barrel or guide hardly ever matches the colour they lay down to! So normally make a color chart with any set of new pencils. They make an vital reference issue and allow you to match the color to your issue instead than the title.
Tip 3 – Exercise matching colours
A wonderful way to follow your optical mixing is to decide on up some paint swatch cards from your area components store. Commit time trying to create that actual shade/tone/colour in your sketch guide by layering, mixing and correcting colors with your pencils right until they match. You are going to discover the more you practice the quicker and a lot more confident you will get. You will also find that you start to favour certain pencils and blends as your fashion develops.
Idea 4 – Split down the issue
Sketch guide function and exploring colour combinations are priceless exercise for botanical artwork. Thoroughly rendered parts of do the job can just take numerous hrs of watchful layering, colour matching and making. With this in mind, it’s superior apply to crack down the issue into lesser pieces (leaves, bouquets, colour, condition etcetera). Experiment and do your research prior to you commence. This saves a great deal of heartache and disappointment and it’s a great reference for equivalent topics in the foreseeable future.
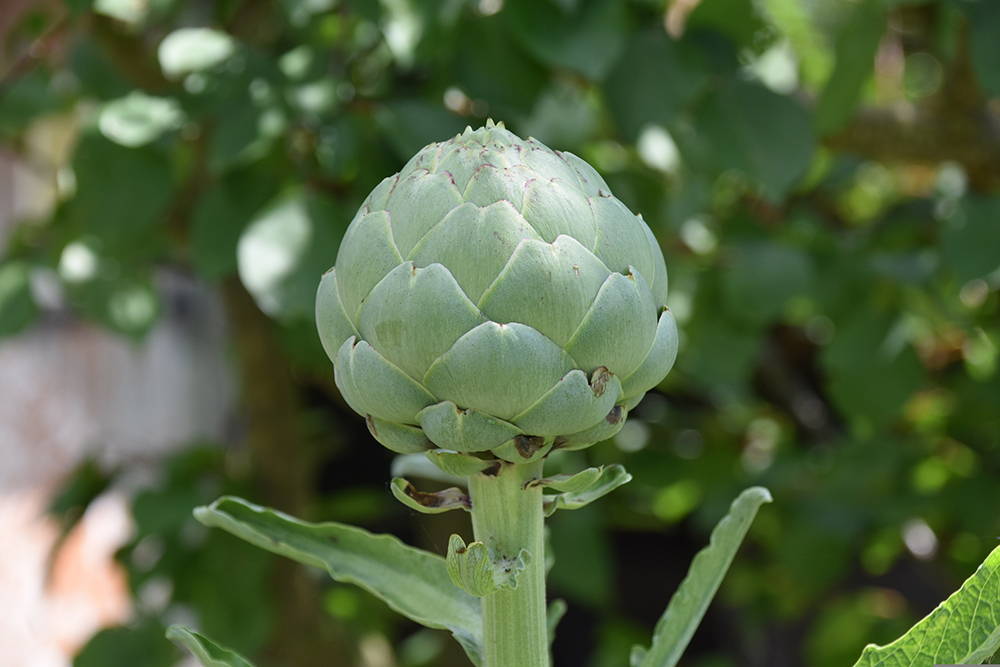
For occasion, an Artichoke is a intricate object to draw. Take into account its condition, most important colors, texture and variety. Commit time discovering these complexities in your sketchbook will give you an knowledge and a new discovered assurance in approaching a totally rendered drawing.
Attempt rendering a small segment of an artichoke in your sketch ebook. Look at the mixtures of greens, complimentary colors, tone and shade you could use to build the texture and variety of what you see.
Idea 5 – Use a clean
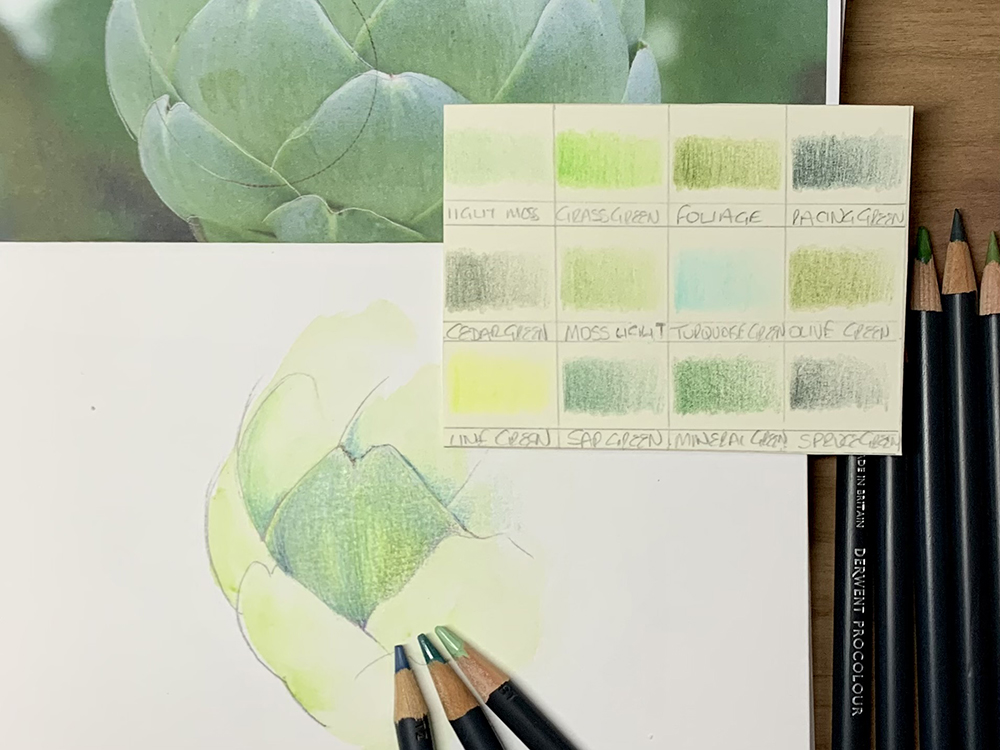
I typically use a clean less than my pencil get the job done to unify and raise the qualifications. Inktense pencils perform splendidly as they are shiny, clear, and after the ink dries it continues to be long lasting. In the picture over I’ve utilized a light wash of Apple Green as a base layer. Other artists use watercolours or some type of solvent such as Zest It Pencil Blend to crack down and mix the initial layer. Exercise on your paper to be certain it is able of these procedures. If you can attract a segment of the subject matter then you can attract the comprehensive matter. It’s just a circumstance of replicating what you have learnt on a greater scale.

Tip 6 – Paper is essential
A inexpensive paper will normally give bad benefits and established you up for a are unsuccessful. Instead, decide for good good quality smooth ‘high white’ paper both as a sketch ebook, unfastened leaf or Bristol board. Warm Pressed watercolour paper is fun to use too. An under layer of inktense or watercolours can be used to hot press paper to intensify colours.
Tip 7 – Be diligent
Hold your pencil details sharp and your marks gentle and regular. Irregular marks can be really difficult and in some cases in the vicinity of impossible to go over up in subsequent levels thanks to the transparency of the pencil pigments. This can be used to your edge much too!
Suggestion 8 – Make your pencils function for you
Devote time acquiring to know the abilities and limits of your brand. Spend time in finding out how to optically mix your colours on the web page. Be bold with your colour decision and use complementary colours to actually make your operate sing. But previously mentioned all, experiment, get pleasure from the method, and do what will make you satisfied.
Suggestion 9 – Producing Darks
Creating punchy and lively darks can be tough with coloured pencils. Complementary colors are a incredible way to build depth and curiosity in your darks. Significantly useful if you really don’t have a terrific choice of greys in your set. Many botanical artists will generate a entirely rendered grey toned underpainting of the subject. Colors are then layered more than the major to give the drawing an added dimension of variety.
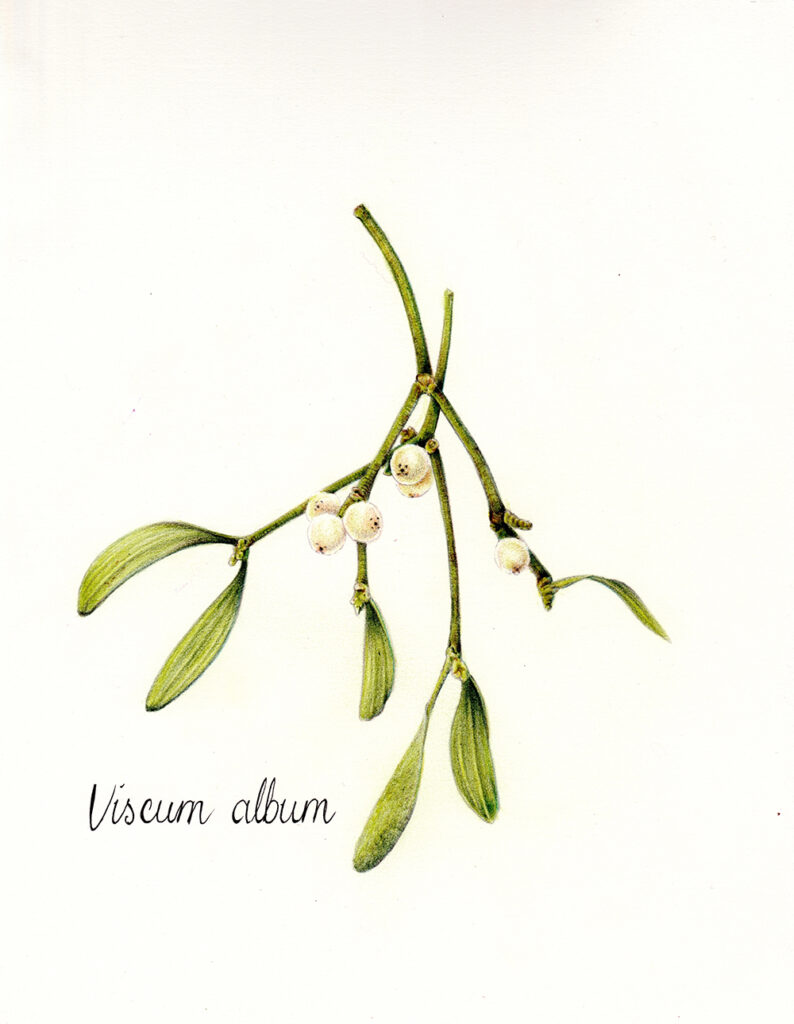
I hope you have relished these hints and tips, and are now feeling inspired and properly on your way to developing some beautiful botanical parts in pencils. If you have had a go at the exercises higher than (greens and spheres) you will have all the skills to be capable to draw a bunch of gorgeous Mistletoe with sweet tiny berries … just in time for the twinkly time!
You could possibly discover some of our other blog site posts useful for picking out the appropriate coloured pencil and even further details on Derwent’s pencil range.
Biography
Cherry Ferris is a self taught artist who is fascinated with color, pigment, resources and all factors sparkly. She is particularly drawn to mother nature and the stunning creatures that inhabit our planet and she’s potty about hares, foxes and owls which is why they seem to pop up in so quite a few items of her do the job. She likes to use a lot of forms of media and is versed in pyrography, acrylics, colored pencils, watercolours and pastels. Cherry also loves the heightened depth in botanical illustration and normally uses these methods together with quite a few some others components and fusing them collectively inside a piece of artwork to produce a little something enjoyable and new.
Cherry’s function has been shown in Wildwood Gallery on Dartmoor, the Derwent Pencil Museum at Keswick, The Wildlife Art Modern society Intercontinental (TWASI), Powderham Castle, The South West Academy Fine & Applied Art Open Exhibition (SWAc) & at OXO Tower, London with the Explorers From Extinction. She is also released in a lot of national and global magazines and is a contributing artist to the Earth Pathways diaries & calendars.
Cherry also runs workshops for novices to a lot more advanced artists and also enjoys making inspirational & innovative local community tasks to convey folks together from all walks of daily life to unite and develop attractive artwork.
Cherry lives in Sidmouth, Devon, British isles. E-mail her at fairiewoodart@yahoo.com or stop by her internet site www.fairiewoodart.com or stick to her on Instagram https://www.instagram.com/fairiewood_art/


